
Most UK independent optician practices spend a lot of time talking about how to grow — more patients, more dispenses, more clinic days. Very few spend time talking about the one workflow that quietly decides whether any of that is possible: the pre-test.
Get pre-test right and your optometrist sees more patients with less fatigue, your clinical decisions get sharper because you walk into the room with real data, and your dispense conversation starts on the right foot because the patient already feels looked after. Get it wrong and your clinic falls behind by 11am, your optom carries the whole appointment on their shoulders, and your front desk is fielding “is it ready yet” calls because everything is running late.
This guide is for owners and practice managers of UK independent optician practices who want to stop treating pre-test as a tick-box and start treating it as the productivity lever it actually is. Here’s how to build a pre-test workflow that gives your optom their day back, lifts clinical quality, and makes the whole patient journey feel calmer.
Why pre-test workflow is the most overlooked productivity lever in independent practices
Ask most independents how their pre-test works and you’ll hear something like this: “We do auto-refractor, NCT, sometimes fundus photo if there’s time.” It’s not wrong. It’s just not a workflow. It’s a list of tests.
The difference matters. A list of tests can be done in any order, by anyone who happens to be free, in any room that’s not in use. A workflow has a sequence, a standard, a defined operator, a defined room, a defined handover into the consulting room, and a defined way of getting that data in front of the optometrist before the patient sits down.
When that workflow is missing, three things happen. Your optom redoes work the pre-test technician already did because the data isn’t trustworthy or visible. Patients sit in the waiting area for longer than they should because there’s no clear “ready for testing” signal. And your appointment slot — the unit you’re selling — gets eaten by admin and re-checking instead of the clinical conversation the patient is paying for.
Fix the workflow and a 30-minute sight test slot suddenly feels generous instead of tight. That’s not magic. It’s just the optom getting the eight to twelve minutes back that they were losing to admin.
What pre-test should actually mean in 2026
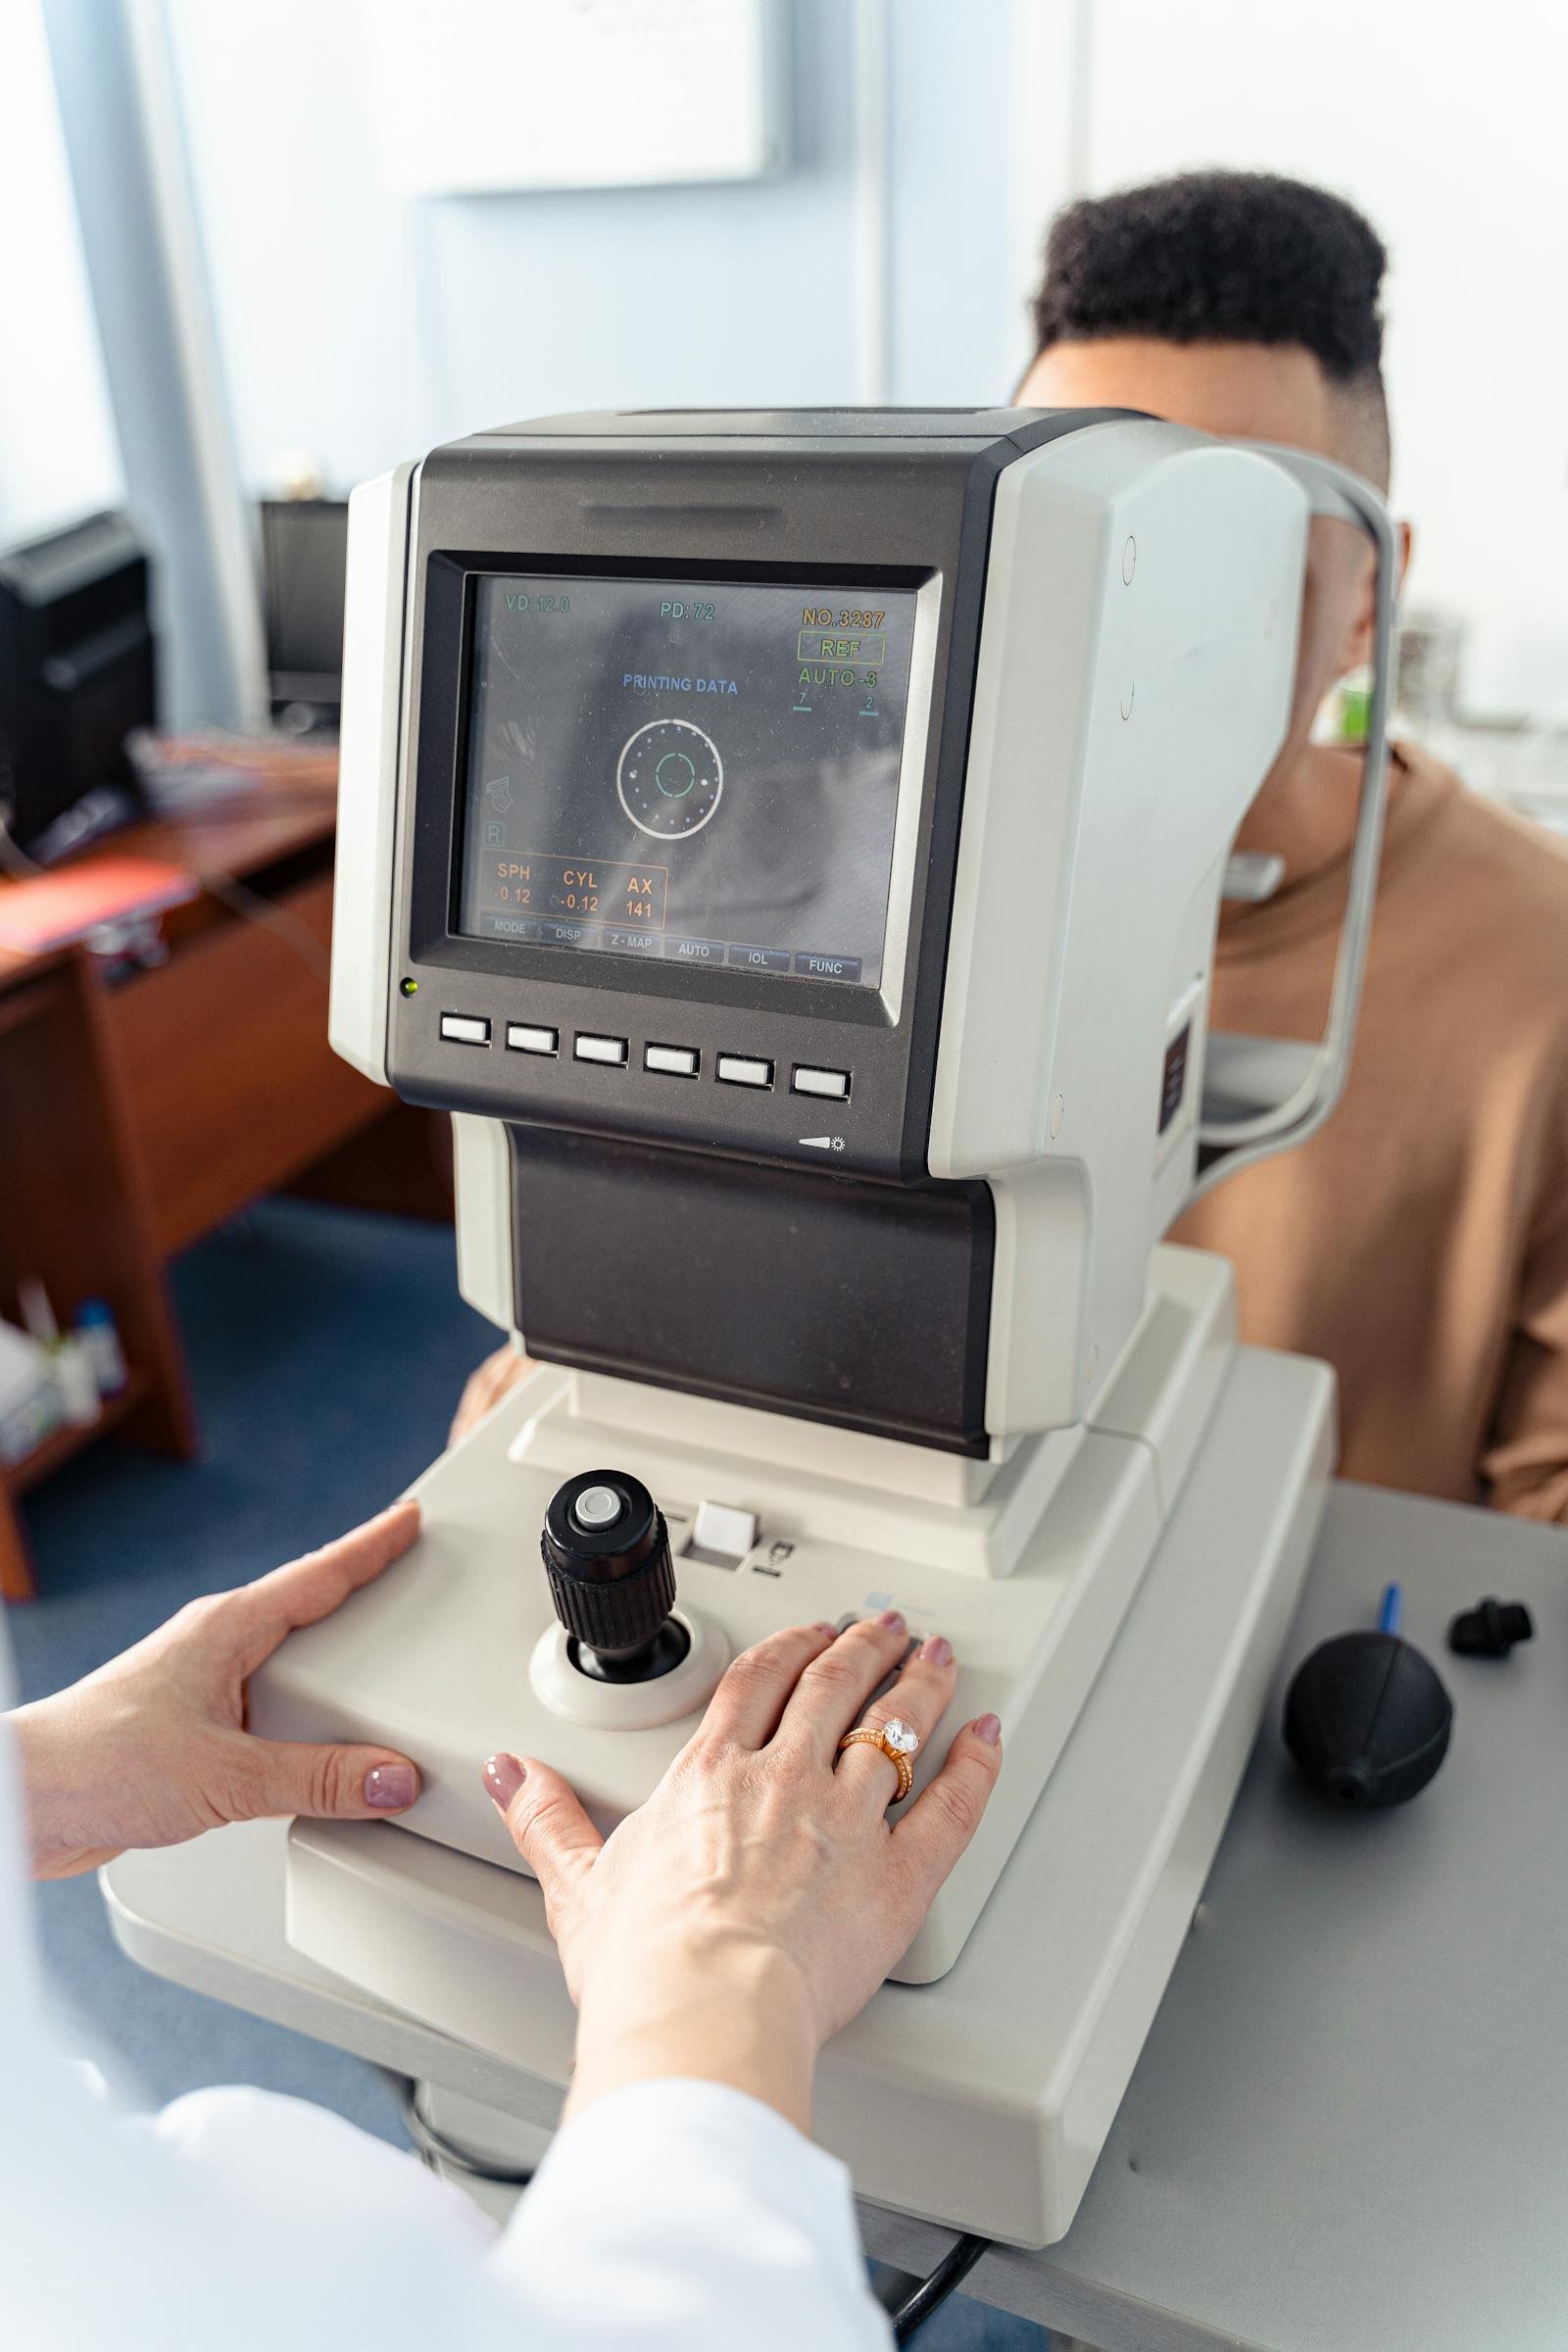
Pre-test is no longer just an auto-refractor reading and a puff of air. In 2026, a competent pre-test workflow in a UK independent practice should include:
- Objective refraction (autorefractor or wavefront)
- Intraocular pressure (non-contact tonometry or iCare)
- Anterior segment imaging or slit-lamp photo if available
- Visual fields screening for at-risk groups
- Fundus photography (most independents now do this routinely)
- OCT if you offer it — usually scheduled rather than blanket
- History and symptoms capture, properly structured
- Reason-for-visit confirmation and red flag triage
- Spectacle and contact lens history review
- Medical and family history update
That looks like a lot, but the goal isn’t to do all of it on every patient. It’s to make sure the right subset happens for the right patient, in the right order, and that the optom never has to ask “did we get a pressure on this one?”
The four jobs of a good pre-test workflow
Strip out everything kit-specific and a good pre-test workflow has to do four jobs.
1. Capture the data the optometrist needs before they need it
The optom should sit down with refraction, pressures, imaging, history, symptoms and red flags already on screen. Anything they have to ask for or repeat is wasted appointment time. The job is to make the consulting room a clinical conversation, not a data-gathering scramble.
2. Make the patient feel cared for, not processed
Pre-test is the first real contact the patient has with your clinical team. If it feels like a conveyor belt, the appointment never recovers. If it feels like a calm, professional handover, the patient is on your side before they’ve even seen the optom.
3. Free the optometrist to do optometry
The whole point of pre-test is that the highest-paid, hardest-to-replace person in the practice doesn’t spend their day on tasks a trained technician could do faster. Every minute spent in pre-test by your technician is a minute returned to your optom’s calendar.
4. Flag anything that should change the appointment
Sometimes pre-test reveals something the optom needs to know before the patient walks in. A pressure of 28. A patient who’s now diabetic. A symptom that wasn’t on the booking. A pre-test workflow should have a clear mechanism for raising those flags so they don’t get buried in a notes field.
The kit you actually need (and what’s optional)
For a strong independent pre-test setup in 2026, the realistic kit list is:
- Autorefractor / keratometer — non-negotiable
- Non-contact tonometer — non-negotiable
- Fundus camera — close to non-negotiable, even the smaller table-top units
- Visual fields screener — needed if you do any community pathway work or want a meaningful glaucoma referral pathway
- OCT — game-changer when you’re ready to use it properly, but not a starting point
- Pre-test computer or tablet — for digital history capture and structured symptom intake
What you don’t need is the most expensive equipment in every category. You need kit that talks to your PMS, that your technician can operate confidently, and that produces images and readings clean enough to make decisions on. A mid-range fundus camera that integrates is worth more than a top-tier unit that doesn’t.
The step-by-step pre-test workflow
Here’s a version of the workflow that works in most independent practices. Adapt it to your room layout and kit, but keep the sequence.
Step 1 — Pre-arrival prep. The day before, your technician or reception lead reviews the next day’s diary. For each patient, they check: are we due imaging this visit? Any flags from last time (suspect disc, dry eye review, IOL counselling)? Any kit that needs to be ready? This takes ten minutes and saves an hour the next day.
Step 2 — Arrival and triage. When the patient arrives, the front desk confirms reason for visit and any new symptoms, then hands the patient to pre-test. Confirming the reason for visit at this point catches the patient who booked an eye test but really wants their glasses adjusted, and stops you wasting a clinical slot.
Step 3 — Symptoms and history first, kit second. The patient sits down with the pre-test technician for a structured history conversation before any equipment is used. Reason for visit, symptoms, last visit recap, medical and family history updates, medications, spec and CL history. This data is captured straight into the PMS, not on paper to be transcribed later.
Step 4 — Objective testing in a fixed order. Auto-refraction, then NCT, then any imaging. A fixed order means the patient experience is consistent and the technician moves smoothly between machines instead of remembering what’s next.
Step 5 — Image review and re-take if needed. The technician reviews each image immediately. A blurred fundus photo that gets caught now takes 30 seconds to retake. The same photo discovered by the optom three minutes into the consult costs everyone five minutes and a small loss of trust.
Step 6 — Flag and hand over. Anything the optom needs to know before they walk into the room — high pressure, change in medical history, new symptoms — is flagged in a way the optom can’t miss. The patient is escorted to the consulting room or asked to wait briefly. The optom reviews the pre-test data on screen before calling the patient in.
Step 7 — Post-visit. Anything the optom requested during the visit — repeat IOP, additional imaging, a fields test — happens immediately, not “we’ll call you back in for it”. The patient leaves with a complete pre-test record.
Who should run pre-test — and how to train them
Pre-test does not need to be run by an optometrist or a dispensing optician. In most well-run independents, pre-test is owned by an optical assistant or dedicated pre-test technician with formal training on each piece of kit and the workflow itself.
What good training looks like:
- Sit-in observation with an experienced optom for a full clinic day — twice
- Hands-on time with every piece of pre-test kit, signed off by the optom
- Standardised scripts for symptom-taking, history-taking and explaining each test
- A “red flag” checklist — what to escalate immediately, what to flag in notes, what’s routine
- A monthly clinical huddle where the optom reviews the technician’s pre-test work and gives feedback
The biggest mistake independents make here is letting pre-test be “whoever’s free”. Rotating pre-test through every staff member dilutes the skill and the standard. Pick one or two people, invest in them, and protect their role.
How to talk to patients during pre-test
The technical side of pre-test is only half the job. The way your team talks to patients during those eight to twelve minutes shapes whether the patient feels like a customer or a number. Three principles tend to work well.
Narrate what you’re doing. Most patients have no idea what an autorefractor is or why you’re taking a photo of the back of their eye. A simple sentence — “this is going to give your optometrist a starting point for your prescription” — turns a test into a piece of care.
Use the patient’s own history. “I can see you mentioned last time that you were getting some headaches in the evenings — is that still happening?” tells the patient you’ve actually read their notes. That alone separates you from most high-street chains.
Set the optom up. End pre-test with something like “I’ll let the optometrist know about the headaches and the new medication. They’ll be with you in a moment.” It hands off cleanly and signals to the patient that information will travel inside the team — which is exactly what most patients quietly worry about.
Common pre-test mistakes that cost time
If your pre-test workflow is leaking time, it’s almost always one of these.
Paper history forms. If your pre-test still involves a clipboard that gets transcribed into the PMS later, you’ve already lost. Capture symptoms and history directly into the patient record.
No fixed pre-test room. If your technician has to move between rooms or share with the optom, they’re walking the patient around. Lock pre-test to a single room with all the kit in place.
Letting the optom redo pre-test. If your optom routinely re-checks pre-test readings, either the kit is bad or the trust isn’t there. Fix the trust by getting the optom and technician aligned in a monthly clinical huddle.
Imaging that doesn’t reach the consulting room. If the optom can’t pull up the fundus photo or OCT scan with one click during the appointment, the integration is broken. This is a PMS problem worth solving immediately.
Skipping pre-test under time pressure. When the clinic runs late, the temptation is to skip pre-test on the next patient to “catch up”. This almost always makes the day worse, because now the optom is doing pre-test from scratch in a 30-minute slot.
The KPIs that tell you if pre-test is working
You don’t need a dashboard full of metrics to know if pre-test is doing its job. Four numbers are enough.
Pre-test to consult time. How many minutes between the patient finishing pre-test and the optom calling them in? If this is creeping above five minutes regularly, pre-test is finishing too early or the optom is running late. Either way, you’d want to know.
Repeat-imaging rate. How often does the optom ask for a retake of a pre-test image or reading? If this is above 5%, look at training and kit calibration.
Clinic on-time rate. What percentage of appointments start within five minutes of their scheduled time? Healthy independents run at 85% or better. Below 70% and pre-test is probably part of the problem.
Optometrist time-in-room per appointment. The optom should spend roughly 75-85% of their appointment slot in the consulting room with the patient, not on admin. If they’re at 50%, your pre-test is doing too little.
Where your PMS has to do the lifting
You can have the best technician in the country and the workflow still falls apart if your practice management software doesn’t play its part. The PMS jobs in a clean pre-test workflow are:
- Auto-pull readings from your autorefractor, NCT and imaging devices straight into the patient record
- Structured symptom and history capture — not free text — so the data is searchable and consistent
- A pre-test flag system that’s visible on the optom’s appointment screen, not buried in notes
- Image timeline view, so the optom can compare today’s fundus photo to last year’s in one click
- Today’s pre-test data visible to the optom before they call the patient in
- One-click handover from pre-test to consultation, with no re-entry of patient data
If your current PMS makes any of those harder than they should be, that’s a real cost — quantifiable in minutes per appointment, multiplied by every appointment, every day. Equipment integration is one of the most under-tested PMS modules and it’s where independents lose the most time.
Three things to try this week
If you read this and want to do something concrete before next Monday, here’s what tends to move the needle fastest.
1. Time your pre-test. For one full clinic day, time every pre-test from “patient sits down” to “ready for optom”. You’ll find a wider spread than you expect. The fixes follow the data.
2. Audit the handover. Watch three handovers from pre-test to consulting room. Is the optom seeing the data before the patient walks in? Or are they reading it while the patient is sitting there? Fix this one thing and your clinic will feel calmer immediately.
3. Lock down one pre-test room. If you’re sharing rooms or moving patients, stop. Pick the room with the best kit and call it pre-test. Even if it means a tighter rota, the consistency is worth it.
Pre-test isn’t glamorous. It’s never going to be the thing you put on the website. But it’s the invisible scaffolding that holds your clinic day up. Independents who build it properly find their optoms less tired, their patients more loyal, and their dispense numbers quietly climbing — because the appointment is finally about clinical care instead of catching up on admin.
If you’re looking at your pre-test workflow and seeing more drag than you’d like, the kit is rarely the bottleneck. It’s the integration between the kit, the team, and the software. Raven Vision was built inside Shaukat’s own practices specifically to make handovers like this disappear — pre-test data on screen before the optom calls the patient in, image timelines a click away, flags that nobody misses. If you want to see what that looks like in practice, you can book a 20-minute demo and we’ll walk through your pre-test workflow with you on the call.